
The Canon AE-1 Program, documented extensively online via the Internet Archive, offers a user-friendly experience. Manuals and service guides are freely available for download.
Overview of the Camera
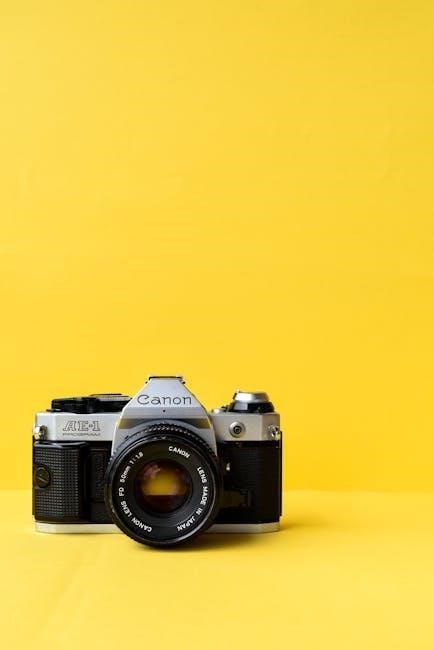
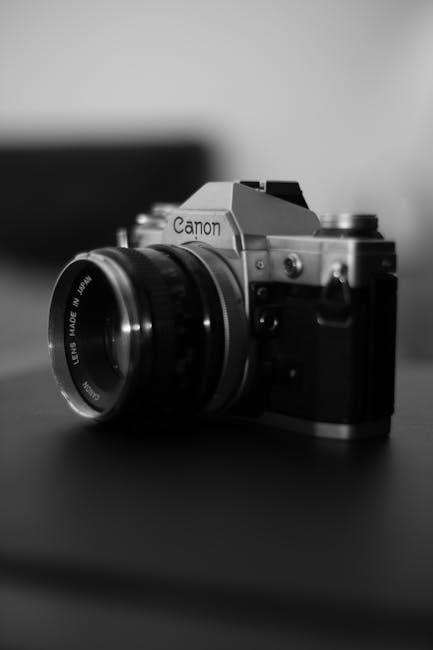
The Canon AE-1 Program, a cornerstone of 35mm photography, blends automated convenience with manual control. As evidenced by readily available instruction manuals on platforms like the Internet Archive, it’s designed for both beginners and experienced photographers. This camera features Program mode, simplifying exposure settings, alongside Shutter Priority, Aperture Priority, and full Manual modes for creative flexibility.
Its robust build and compatibility with the Canon FD lens mount system contribute to its enduring appeal. Detailed service manuals also exist, offering insights into its internal workings and adjustments, ensuring longevity and repairability.
Historical Context and Significance
The Canon AE-1 Program, released in 1987, arrived as a refined iteration of the original AE-1, building upon its predecessor’s success. Accessible instruction manuals, now digitized and available via the Internet Archive, demonstrate Canon’s commitment to user support. It represented a shift towards more automated features in SLR cameras, making photography more approachable.
The AE-1 Program’s significance lies in its blend of automation and manual control, appealing to a broad range of photographers and solidifying Canon’s position in the market.
Understanding the Camera’s Components
Detailed component breakdowns are readily available in the Canon AE-1 Program’s service and user manuals, accessible through resources like the Internet Archive.
Body and External Controls
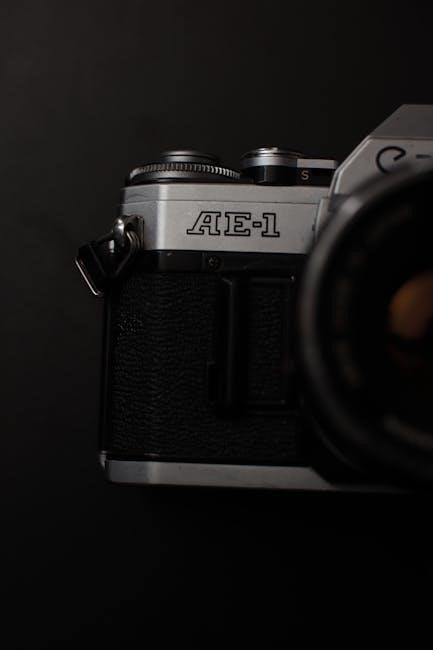
The Canon AE-1 Program’s body houses essential controls for photographic operation. The instruction manual, freely available online, details each function’s location and purpose. Key elements include the shutter speed dial, exposure compensation dial, and mode selector.
Understanding these external controls is crucial for mastering the camera. The manual provides diagrams illustrating their positions and explains how adjustments impact image capture. Furthermore, it clarifies the function of the film advance lever, rewind crank, and various buttons related to metering and flash synchronization.
Lenses and Compatibility
The Canon AE-1 Program utilizes the Canon FD mount system, ensuring compatibility with a wide range of Canon FD lenses. The instruction manual details the various FD lens types – standard, telephoto, and wide-angle – and their specific characteristics.
It’s crucial to understand that not all FD lenses are created equal; some offer automatic diaphragm control, while others require manual adjustment. The manual clarifies these differences and provides guidance on selecting the appropriate lens for various photographic scenarios, maximizing image quality and creative control.
The Canon FD Mount System
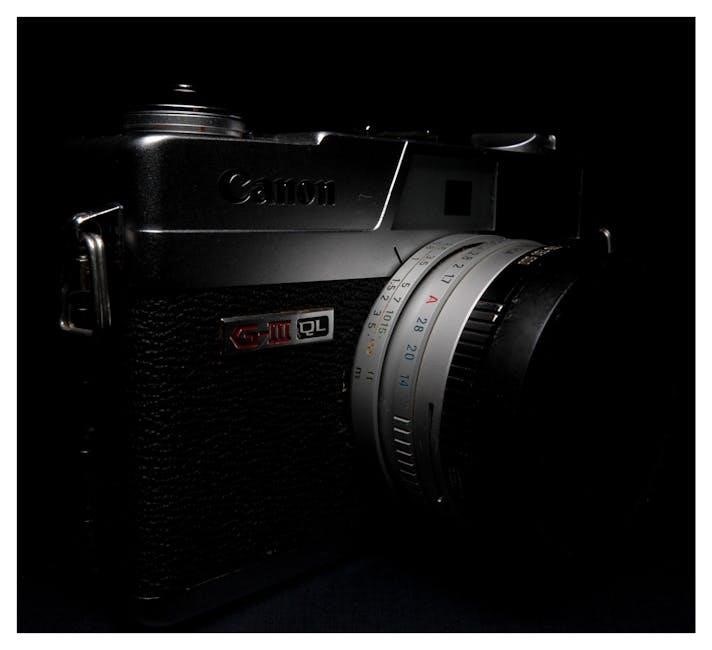
The Canon FD (Focusing Device) mount, as detailed in the AE-1 Program’s service manual, was Canon’s standard lens mount from 1971 to 1987. It’s characterized by a three-prong bayonet design, enabling secure lens attachment and electrical communication between the lens and camera body.
This system facilitates features like aperture control and, in some lenses, selective aperture automatic. Understanding the FD mount’s mechanics, as outlined in available documentation, is vital for proper lens mounting, operation, and maintenance of the Canon AE-1 Program.

Operating Modes and Settings
The Canon AE-1 Program offers versatile shooting modes – Program, Shutter Priority, Aperture Priority, and Manual – detailed within its comprehensive instruction manual.
Program Mode Explained
Program Mode on the Canon AE-1 Program represents the camera’s fully automatic setting, simplifying photography for beginners. The camera intelligently selects both the shutter speed and aperture based on its internal metering system, aiming for optimal exposure. This mode is ideal for everyday snapshots and situations where quick, hassle-free operation is desired.
However, users should understand that while convenient, Program Mode offers limited creative control. The camera prioritizes a balanced exposure, potentially sacrificing artistic intent. The instruction manual emphasizes that understanding the interplay between aperture and shutter speed, even in Program Mode, enhances photographic results.
Shutter Priority Mode
Shutter Priority Mode allows photographers to manually set the shutter speed, while the Canon AE-1 Program automatically adjusts the aperture to achieve proper exposure. This is particularly useful for controlling motion – freezing action with fast shutter speeds or blurring movement with slower ones. The camera’s metering system ensures correct brightness despite the user-defined shutter speed.
The instruction manual details how to select shutter speeds, emphasizing the relationship between speed and aperture. Understanding this connection is crucial for achieving desired effects. This mode provides a balance between creative control and automatic assistance, ideal for dynamic subjects.
Aperture Priority Mode
Aperture Priority Mode on the Canon AE-1 Program empowers photographers to select their desired aperture, influencing depth of field, while the camera automatically determines the appropriate shutter speed for correct exposure. A wider aperture (smaller f-number) creates shallow depth of field, ideal for portraits, while a narrower aperture (larger f-number) maximizes sharpness throughout the scene.
The manual explains how to utilize aperture settings for creative control. Mastering this mode allows photographers to prioritize either background blur or overall scene sharpness, achieving specific artistic visions with ease and precision.
Manual Mode
Manual Mode on the Canon AE-1 Program grants the photographer complete control over both aperture and shutter speed, demanding a thorough understanding of the exposure triangle. This mode is ideal for challenging lighting situations where the camera’s automatic modes may struggle to deliver accurate results.
The instruction manual details how to use the camera’s metering system as a guide, but ultimately, the photographer is responsible for achieving proper exposure. It requires practice and a keen eye for light, offering ultimate creative freedom.

Using the Viewfinder and Focusing
The AE-1 Program’s viewfinder provides crucial exposure information, aiding precise focusing. Manuals detail interpreting these displays for optimal image capture and clarity.
Viewfinder Information Display
The Canon AE-1 Program’s viewfinder is a key component for accurate shooting. It presents a wealth of information, including shutter speed, aperture setting, and exposure indicators. The LED indicators, visible within the viewfinder, signal whether the exposure is correct, under, or overexposed.
Understanding these signals is crucial for achieving properly exposed photographs. The viewfinder also displays focusing aids, assisting in achieving sharp images. Detailed explanations of each element within the viewfinder are readily available in the camera’s instruction manual, accessible through resources like the Internet Archive.
Focusing Techniques with the AE-1 Program
Achieving sharp focus with the Canon AE-1 Program relies on mastering several techniques. The camera utilizes both manual and autofocus capabilities, though autofocus is limited to certain lenses. Manual focusing is accomplished by rotating the focusing ring on the lens, observing the image clarity in the viewfinder.
Split-image and fine-focus aids within the viewfinder assist in precise adjustments. The instruction manual, found on platforms like the Internet Archive, details these methods, ensuring optimal image sharpness for photographers of all levels.
Depth of Field Control
Controlling depth of field – the area of acceptable sharpness – is crucial for creative photography with the Canon AE-1 Program. This is primarily managed through the aperture setting (f-stop) on the lens. Smaller apertures (higher f-numbers like f/16 or f/22) yield greater depth of field, ideal for landscapes.
Conversely, larger apertures (lower f-numbers like f/2.8 or f/4) create shallow depth of field, perfect for isolating subjects. The AE-1 Program’s manual, accessible online, explains how aperture interacts with focal length and distance to achieve desired effects.
Exposure Control and Metering
The Canon AE-1 Program utilizes a center-weighted metering system, detailed in available manuals, and offers exposure compensation for accurate image capture.
Metering Modes and Selection
The Canon AE-1 Program primarily employs a center-weighted average metering mode, prioritizing the central portion of the frame for exposure calculation. This means the camera gives more weight to the light levels in the middle of the scene. While not offering selectable patterns like modern cameras, understanding this bias is crucial.
The LED indicators within the viewfinder display exposure information based on this metering. Users should note that strong backlighting or scenes with high contrast can influence readings. Referencing the manual helps interpret these indicators effectively, ensuring proper exposure in diverse shooting conditions. Accurate metering relies on understanding this core functionality.
Exposure Compensation
The Canon AE-1 Program features exposure compensation to override the camera’s automatic metering. This is vital when shooting scenes with unusual lighting, like snow or strong backlighting, where the camera might underexpose. Compensation is adjusted via a dial, shifting the exposure +2 stops brighter or -2 stops darker.
Understanding the LED indicators in the viewfinder is key when using compensation. The manual details how these indicators change with adjustments. Careful use of exposure compensation ensures accurate results, preventing blown-out highlights or muddy shadows, ultimately enhancing image quality.
Using the Light-Emitting Diode (LED) Indicators
The Canon AE-1 Program’s viewfinder utilizes LED indicators for precise exposure guidance. A centered “0” LED signifies correct exposure, while “+” indicates underexposure, and “-” overexposure. These indicators dynamically adjust with aperture and shutter speed changes.
When using exposure compensation, the LED display reflects the adjusted setting. The manual emphasizes observing these LEDs to confirm desired exposure before capturing the image. Mastering the LED system is crucial for consistent, well-exposed photographs with this classic camera.
Film Loading and Rewinding
The Canon AE-1 Program requires careful 35mm film loading and rewinding, as detailed in available manuals from resources like the Internet Archive.
Loading 35mm Film
To load 35mm film into the Canon AE-1 Program, first open the camera back using the film release lever. Place the film canister into the film chamber, ensuring it seats correctly. Pull the film leader across the camera and attach it to the take-up spool.
Advance the film using the winding lever, observing the rewind knob turning to confirm proper engagement. Close the camera back securely. The Internet Archive provides detailed manuals illustrating this process, crucial for beginners to avoid damaging the film or camera mechanism. Always ensure proper film flatness for consistent exposure.
Rewinding Film
Rewinding film in the Canon AE-1 Program is straightforward. Locate the rewind crank on the camera’s top. Before starting, gently press the film rewind button on the camera’s base. Begin turning the crank in the direction indicated by the arrow.
Feel for decreasing resistance as the film fully retracts into the canister. Continue until the film is completely inside. Open the camera back and remove the film canister. Resources like those found on the Internet Archive detail this process, preventing film damage during removal.

Troubleshooting Common Issues
Common issues with the Canon AE-1 Program, detailed in service manuals available on the Internet Archive, include exposure and focusing problems or malfunctions.
Exposure Problems
Incorrect exposure often stems from issues with the camera’s metering system, as detailed in Canon AE-1 Program service manuals found on the Internet Archive. Verify proper battery function, as low power impacts metering accuracy.
Check the LED indicators within the viewfinder; inconsistent readings suggest a problem. Ensure the correct film speed is set, and consider using exposure compensation if scenes are unusually bright or dark.
A dirty or malfunctioning shutter can also cause exposure errors. Refer to the manual for cleaning or professional servicing if needed, ensuring accurate light capture.
Focusing Difficulties
Difficulty achieving sharp focus with the Canon AE-1 Program can arise from several factors, as outlined in available instruction manuals on platforms like the Internet Archive. Ensure sufficient light; low light hinders accurate focusing.
Verify the lens is securely mounted and free of damage. Practice using the split-image focusing aid in the viewfinder, aligning the images for sharpness.
Consider depth of field – smaller apertures increase it. If problems persist, a lens calibration check by a professional may be necessary for optimal performance.
Camera Malfunctions
Should your Canon AE-1 Program experience malfunctions, consult the service manual available on the Internet Archive for detailed troubleshooting steps. Common issues include film advance problems or shutter failures.
Avoid attempting complex repairs yourself; improper handling can cause further damage.
Battery issues can also mimic malfunctions – ensure fresh batteries are correctly installed. If the camera remains unresponsive, professional repair by a qualified technician is strongly recommended to restore functionality.

Maintenance and Care
Regular cleaning of the Canon AE-1 Program, alongside proper battery replacement and careful storage, ensures longevity and optimal performance, as detailed in available manuals.
Cleaning the Camera Body and Lens
Maintaining cleanliness is crucial for the Canon AE-1 Program’s functionality. Gently wipe the camera body with a soft, dry cloth to remove dust and fingerprints. Avoid harsh chemicals or abrasive cleaners, as these can damage the finish. For the lens, use a dedicated lens cleaning cloth and solution, applying gentle circular motions.
Pay particular attention to the lens elements, ensuring no streaks or residue remain. Regularly cleaning both the body and lens prevents dust buildup, which can affect image quality and potentially cause mechanical issues. Refer to the detailed instructions within the Canon AE-1 Program manual for specific guidance and recommended cleaning products.
Battery Replacement
The Canon AE-1 Program requires a 4LR44 or equivalent 6V battery to power its electronic functions, including the light-emitting diode (LED) indicators in the viewfinder. To replace the battery, locate the battery compartment on the camera’s bottom. Use a small screwdriver to open the compartment cover and carefully remove the old battery.
Insert the new battery, ensuring correct polarity as indicated inside the compartment. Securely close the cover. Always handle batteries with care and dispose of them responsibly, following local regulations. Consult the Canon AE-1 Program manual for detailed diagrams and safety precautions regarding battery replacement.
Storage Recommendations
To preserve your Canon AE-1 Program, proper storage is crucial. When not in use, store the camera in a cool, dry place, away from direct sunlight and extreme temperatures. A camera bag or case offers excellent protection against dust, moisture, and accidental impacts.
Remove the batteries to prevent potential corrosion. Avoid storing the camera in humid environments, as this can damage the internal components. Regularly check the camera for any signs of mold or mildew, and clean it accordingly. Following these recommendations ensures longevity.
Advanced Techniques
Explore creative possibilities with filters, multiple exposures, and flash photography, enhancing your Canon AE-1 Program’s capabilities as detailed in available guides.
Using Filters
Filters significantly expand the creative potential of the Canon AE-1 Program. Various types, like UV, polarizing, and color filters, offer distinct effects. UV filters primarily protect the lens, while polarizers reduce glare and enhance colors.
Color filters, available in numerous hues, allow for specialized effects, particularly in black and white photography, altering tonal relationships. When using filters, ensure they are compatible with the Canon FD mount and of good optical quality to avoid image degradation. Experimentation is key to mastering their impact on your photographs.
Multiple Exposures
Creating multiple exposures with the Canon AE-1 Program requires understanding the camera’s mechanics. After taking the first exposure, hold down the shutter release button and advance the film advance lever to prevent film advance. Then, re-cock the shutter and take the second exposure on the same frame.
This technique blends images, offering surreal and artistic results. Careful metering is crucial to avoid overexposure. Experiment with different combinations to achieve desired effects, remembering each exposure adds to the overall light level.
Flash Photography with the AE-1 Program
Utilizing flash with the Canon AE-1 Program expands creative possibilities, though compatibility requires attention. The camera supports both dedicated Canon Speedlites and non-dedicated flash units. With dedicated flashes, TTL (Through-The-Lens) metering automates exposure.
For non-dedicated units, manual flash exposure settings are necessary, guided by the camera’s built-in meter and flash guide number. Proper synchronization ensures the flash fires at the correct moment, avoiding dark bands in images.