
Drawing is a fundamental skill that enhances creativity and self-expression․ It involves translating ideas into visual form using various tools and techniques․ Whether sketching, shading, or illustrating, drawing offers endless possibilities for artistic exploration and storytelling․ Regular practice and experimentation with different mediums can help refine your craft and unlock new creative potentials․ This guide provides a comprehensive pathway to mastering the basics, from essential tools to advanced techniques, ensuring a solid foundation for your artistic journey․
By learning to draw, you can communicate ideas, capture moments, and bring imagination to life․ Embrace the process, enjoy the creativity, and let your unique style shine through every stroke․ Drawing is not just a skill—it’s a powerful form of personal expression and a lifelong journey of discovery and growth․
1․1․ Understanding the Basics of Drawing
Mastering the basics of drawing involves understanding fundamental principles such as line work, shape recognition, and proportion․ Lines form the foundation of any drawing, serving as the framework for contours, outlines, and textures․ Shapes, including circles, squares, and triangles, help simplify complex forms into manageable components․ Proportion ensures that elements are in harmony, creating balance and realism․ These core concepts allow artists to accurately represent subjects, whether it’s a still life, portrait, or landscape․ Practicing these basics builds confidence and provides a solid foundation for more advanced techniques․ Experimenting with tools like pencils, pens, or digital software further enhances your ability to express ideas visually․ By focusing on these essentials, you can develop the skills needed to bring your creative vision to life․
1;2․ Importance of Practice in Drawing
Practice is the cornerstone of improving drawing skills, as it strengthens muscle memory, enhances technique, and fosters creativity․ Regular practice helps refine your ability to observe and replicate shapes, proportions, and details accurately․ Consistency is key; even short daily sessions can lead to significant progress over time․ Through practice, you develop patience and persistence, essential for mastering complex subjects like portraits or landscapes․ It also allows you to experiment with different tools and styles, discovering what works best for you․ Embrace challenges and view mistakes as opportunities to learn and grow․ Remember, practice is not just about repetition—it’s about intentional, focused effort to improve with each stroke․
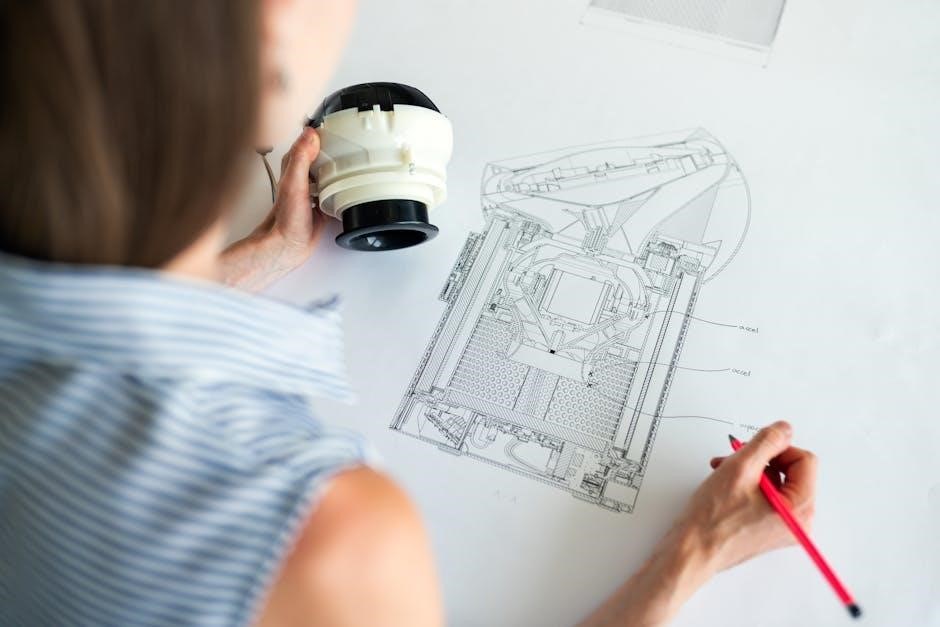
1․3․ Essential Tools for Drawing
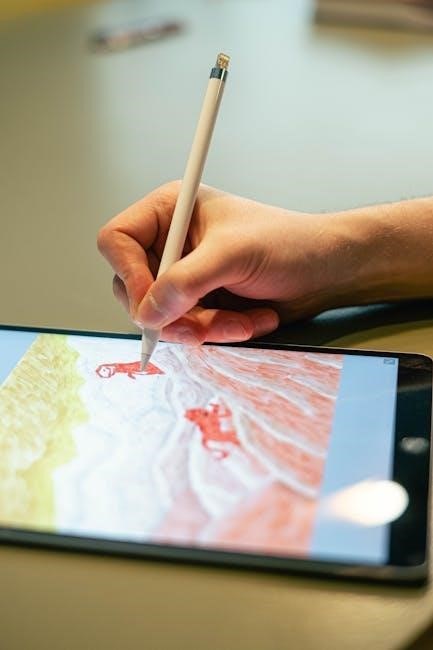
The right tools are vital for bringing your creative vision to life․ For traditional drawing, essentials include graphite pencils (range HB to 6B), erasers (kneaded and white vinegar), sharpener, sketchbook, and blending stumps․ Digital drawing requires software like CorelDRAW, GIMP, or LibreOffice Draw, along with a graphics tablet for precision․ Each tool serves a unique purpose, from sketching initial ideas to refining details․ Experimenting with different tools helps you discover what suits your style best․ Proper care and organization of your tools ensure longevity and readiness for your next creative project․ Whether traditional or digital, having the right tools enhances your drawing experience and fosters artistic expression․

Setting Up Your Drawing Environment
A well-organized workspace enhances creativity and productivity․ Ensure proper lighting, a comfortable setup, and easy access to tools․ A dedicated area helps maintain focus and inspiration․
2․1․ Choosing the Right Workspace
Selecting the right workspace is crucial for an effective drawing experience․ A clean, clutter-free area with ample lighting ensures comfort and focus․ Natural light is ideal, but if unavailable, invest in high-quality task lighting․ Position your desk away from distractions and at a comfortable height to avoid strain․ A sturdy, flat surface is essential for maintaining control while drawing․ Consider the size of your workspace to accommodate large projects or sketches․ Personalize your area with inspiring materials or reference images to spark creativity․ A well-chosen workspace sets the foundation for a productive and enjoyable drawing session․
2․2․ Organizing Your Drawing Tools
Organizing your drawing tools is essential for efficiency and creativity․ Keep frequently used items like pencils, erasers, and brushes within easy reach․ Use trays or pouches to separate tools by type or size․ Digital tools, such as software palettes or shortcut keys, should also be customized for quick access․ Labeling and categorizing your supplies helps maintain order․ Regularly clean and maintain your tools to ensure optimal performance․ A well-organized workspace reduces distractions and allows you to focus on your craft․ By streamlining your tools, you can work more effectively and enjoy a smoother drawing experience․
2․3․ Using Proper Lighting for Drawing
Proper lighting is crucial for accurate color perception and detail in drawing․ Natural light is ideal, so position your workspace near a window․ Avoid direct sunlight, as it can cause glare․ If using artificial light, opt for soft, diffused options like LED panels or daylight bulbs․ Ensure the light source is placed to minimize shadows on your work․ Overhead lighting can create harsh shadows, while side lighting helps reveal textures and details․ Experiment with different setups to find what works best for your projects․ Consistent, even lighting enhances precision and reduces eye strain, allowing you to focus on capturing the subtleties of your subject․ Invest in a high-quality light source to elevate your drawing experience and results․

Basic Drawing Techniques
Mastering basic techniques like line drawing, shape formation, and perspective is essential․ Start with simple exercises to build confidence and precision․ Practice hatching, cross-hatching, and stippling to create depth and texture․ Understanding value and contrast helps in creating realistic representations․ Regular practice strengthens hand-eye coordination and artistic expression․ These foundational skills pave the way for more complex compositions and detailed artwork․ Embrace experimentation and patience as you refine your craft․
3․1․ Drawing Lines and Shapes
Drawing lines and shapes is the foundation of all artistic endeavors․ Start by practicing basic line types: horizontal, vertical, diagonal, and curved․ These lines form the structure of any drawing․ Shapes, such as circles, squares, and triangles, help create form and balance․ Use tools like pencils, pens, or digital software to experiment with varying line weights and textures․ For example, hatching and cross-hatching can add depth and dimension․ Regular practice improves precision and control, enabling you to sketch complex forms with confidence․ Simple exercises, like drawing still life compositions, can refine your ability to render lines and shapes accurately․ Mastering these basics is key to progressing in more advanced techniques and creating dynamic, engaging artwork․
3․2․ Understanding Perspective and Proportion
Mastering perspective and proportion is crucial for creating realistic and balanced drawings․ Perspective involves creating the illusion of depth on a flat surface, often using techniques like vanishing points and horizon lines․ One-point perspective, for example, is ideal for drawing symmetrical scenes like roads or buildings․ Proportion ensures that objects are scaled correctly relative to each other, maintaining harmony in your artwork․ To achieve accurate proportions, measure your subject carefully and divide it into manageable sections․ Practice sketching simple forms, gradually incorporating more complex shapes․ Understanding these principles will enhance your ability to create engaging, lifelike compositions․ Regular exercises, such as drawing still-life setups or landscapes, can refine your skills in perspective and proportion, leading to more polished and visually appealing results․
3․3․ Creating Depth and Dimension
Creating depth and dimension in your drawings is essential for making your artwork appear realistic and visually engaging․ Depth can be achieved through techniques like overlapping objects, atmospheric perspective, and shading․ Dimension is added by using shadows, highlights, and texture to give objects a three-dimensional appearance․ To create depth, start by layering elements in your composition, with darker shadows in the background and lighter shades in the foreground․ This creates a sense of distance and space․ For dimension, focus on adding texture and shading to objects to make them appear more lifelike․ Practice observing how light interacts with different surfaces and use this knowledge to enhance your drawings․ Balancing these elements will guide the viewer’s eye through your composition, making it more dynamic and immersive․
Drawing Software Tutorials
Mastering drawing software enhances your creative workflow, offering precise tools for professional results․ Explore tutorials for LibreOffice Draw, CorelDRAW, GIMP, and Microsoft Word’s Draw Tab to refine your skills․
4․1․ Getting Started with LibreOffice Draw
LibreOffice Draw is a versatile tool for creating vector graphics, diagrams, and illustrations․ Integrated into the LibreOffice suite, it allows seamless sharing of drawings across applications․ Beginners can start by exploring the intuitive interface, which features tools for shapes, lines, and text․ The official Draw Guide by Peter Schofield and Martin Fox provides comprehensive instructions, covering everything from basic shapes to complex compositions․ With its user-friendly design, LibreOffice Draw is ideal for both educational and professional use, offering features like layers, snap-to-grid, and export options․
Start by opening LibreOffice Draw, where you can choose templates or begin from scratch․ Use the toolbar to select pens, colors, and shapes, and experiment with transformations․ The program’s flexibility makes it perfect for creating flowcharts, posters, and technical drawings․ For detailed guidance, refer to the 262-page official guide, available in multiple languages, including Russian․ This resource ensures you master LibreOffice Draw’s capabilities, helping you create precise, professional-quality artwork with ease․
4․2․ Using CorelDRAW for Professional Results
CorelDRAW is a powerful graphic design software renowned for its precision and versatility․ It offers advanced tools for vector illustration, logo creation, and professional-grade artwork․ Beginners can install CorelDRAW Graphics Suite 2021 on Windows by following the official installation guide․ The program features intuitive menus, including options for loading and saving SVG files, customization settings, and user guides․ With its robust tools, CorelDRAW is ideal for designing complex compositions, logos, and detailed graphics․ It supports layers, non-destructive editing, and high-resolution output, making it a favorite among professionals․ For those new to the software, tutorials and guides are available to help master its features and unlock creative potential for stunning, professional results․
4․3․ Drawing Arrows and Shapes in GIMP
Drawing arrows and shapes in GIMP can be a straightforward process once you understand the available tools and techniques․ To draw arrows, you can use the Paths Tool or the Brush Tool with arrow-shaped brushes․ For shapes, the Rectangle Tool, Ellipse Tool, and Polygonal Lasso Tool are ideal․ Select the tool, choose your desired settings, and drag to create the shape or arrow․ You can customize properties like color, size, and opacity in the tool options panel․ For precise results, use the Shift key to constrain proportions or the Ctrl key for finer adjustments․ GIMP also supports plug-ins, such as the Directional Arrow plug-in, which simplifies drawing arrows․ Experiment with these tools to enhance your designs and illustrations with professional-looking arrows and shapes․
4․4․ Leveraging Microsoft Word’s Draw Tab
Microsoft Word’s Draw Tab offers a versatile set of tools for creating and enhancing visual elements within documents․ Accessible via the “Insert” or “Home” tab in newer versions, the Draw Tab provides options like pens, highlighters, and shape tools․ Use the pen tools to sketch freehand drawings or annotations, while the highlighter tool emphasizes text or images․ Shapes like arrows, circles, and polygons can be inserted to illustrate concepts or flowcharts․ The eraser tool allows for corrections, and customization options let you adjust color, thickness, and transparency․ This feature is particularly useful for educators, designers, and professionals who need to add visual elements to their documents․ By leveraging the Draw Tab, you can make your Word documents more engaging and informative with minimal effort․
Advanced Drawing Techniques
Mastering shading and texture enhances depth and realism in drawings․ Techniques like layering, blending, and stippling create intricate details․ Advanced composition strategies ensure dynamic visual balance and storytelling․
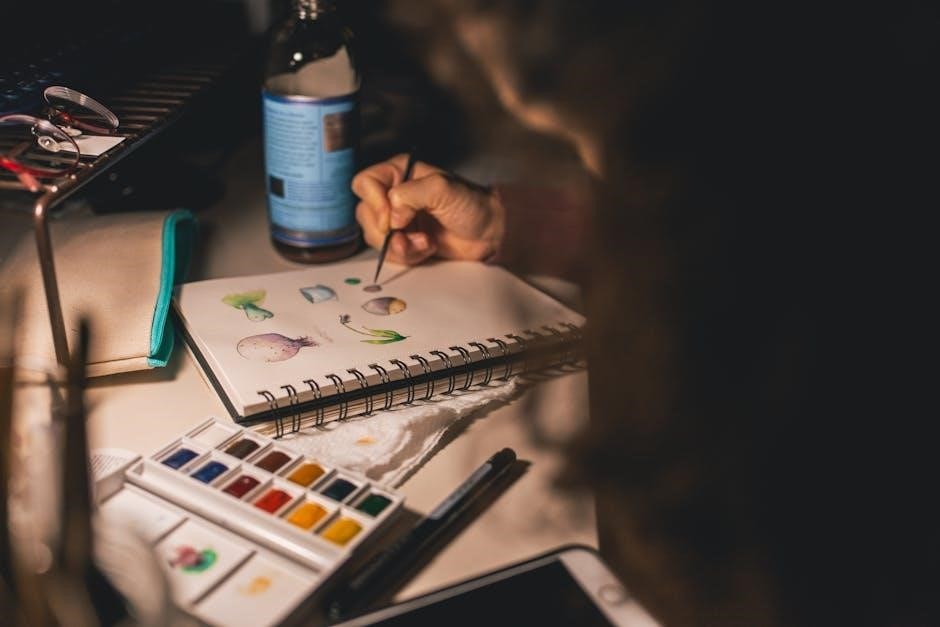
5․1․ Mastering Shading and Texture
Shading and texture are essential for adding depth and realism to your drawings․ Shading involves creating gradients of light and dark to define form and dimension, while texture captures the surface quality of objects․ To master these techniques, practice various shading methods like hatching, cross-hatching, and stippling․ For texture, observe and replicate patterns found in nature, such as rough tree bark or smooth fabrics․ Using reference images can help you accurately depict textures․ Experiment with different tools, like pencils or digital brushes, to achieve lifelike effects․ Consistent practice will refine your ability to convey three-dimensional form and create immersive, detailed artwork that engages the viewer․
5․2․ Drawing Realistic Portraits
Drawing realistic portraits requires precision and attention to detail․ Start by understanding facial proportions and measuring key features to ensure accuracy․ Use reference images to capture a likeness, focusing on the shape and placement of eyes, nose, and mouth․ Practice contour drawing to define the outline and structure of the face․ Pay attention to facial expressions, as subtle shifts in muscle movement can convey emotions effectively․ To enhance realism, study lighting and shading techniques to create depth and dimension․ Use layering methods to build texture and detail, starting with basic shapes and refining gradually․ Regular practice and observation of real-life subjects will improve your ability to render lifelike portraits with confidence and precision;
5․3․ Creating Complex Compositions
Creating complex compositions involves balancing multiple elements to guide the viewer’s eye effectively․ Start by planning your layout using thumbnail sketches to visualize the arrangement of subjects and negative space․ Apply principles like the rule of thirds and leading lines to create dynamic movement and focus․ Experiment with symmetry and asymmetry to add visual interest while maintaining balance․ Incorporate layering techniques to build depth, blending foreground, midground, and background elements seamlessly․ Pay attention to detail and texture to add complexity without overwhelming the scene․ Practice combining shapes, forms, and patterns to craft intricate yet cohesive designs․ Regularly studying and analyzing masterpieces can inspire and refine your approach to creating sophisticated compositions․
Practice Exercises for Improvement
Enhance your drawing skills with consistent practice․ Start with simple exercises like gesture sketches and contour studies․ Gradually move to more complex subjects, ensuring attention to detail and proportion․ Regularly sketching still-life compositions, portraits, and landscapes will refine your technique and boost creativity․ Incorporate quick drawing challenges to improve speed and precision; Tracking your progress and staying inspired will keep you motivated on your artistic journey․
6․1․ Simple Still Life Drawing
Simple still life drawing is an excellent way to refine your skills․ Start by arranging basic objects like fruits or household items․ Observe their shapes, textures, and proportions․ Use a pencil to sketch outlines, focusing on balance and placement․ Pay attention to light and shadow, as these add depth․ Gradually add details, ensuring accuracy․ Practice shading techniques to enhance dimensionality․ Regular still life exercises improve observation and rendering abilities, forming a solid foundation for more complex compositions․ This practice helps build confidence and precision, making it a valuable exercise for artists of all levels․ Consistency is key to mastering still life drawing effectively․
6․2․ Sketching Landscapes and Scenery
Sketching landscapes and scenery is a great way to capture the beauty of nature․ Begin by observing the horizon line and basic shapes of elements like mountains, trees, and water․ Use perspective to create depth, ensuring proportional relationships between objects․ Start with light pencil strokes to outline the composition, then gradually add details․ Pay attention to textures, such as tree bark or grass, and use shading techniques to convey dimension and light․ Practice sketching different weather conditions and times of day to enhance your ability to depict mood and atmosphere․ Regular outdoor sketching sessions will improve your observational skills and help you master the art of capturing scenic views effectively․
Experiment with various tools and techniques to achieve desired effects, such as soft skies or flowing water․ Remember, practice is key to refining your landscape sketching skills and creating visually appealing scenes․
6․3․ Drawing Cartoon and Anime Characters
Drawing cartoon and anime characters is a fun and creative process; Start by sketching basic shapes to define the character’s proportions, such as circles for heads and ovals for bodies․ Pay attention to exaggerated features, like large eyes for anime styles or playful expressions for cartoons․ Use reference images to capture unique details and poses․ Experiment with line work and shading to add depth and dimension․ Practice drawing facial expressions and dynamic poses to bring your characters to life․ Don’t forget to add personality through accessories and clothing․ Regular practice and observation of professional works will help refine your skills in capturing the essence of these styles․
Remember, consistency and patience are key․ Enjoy the process of creating your own unique characters and storytelling through your art․

Resources for Further Learning
Explore PDF guides, eBooks, and online tutorials for in-depth drawing lessons․ Utilize platforms like Proko, New Masters Academy, and official software manuals for specialized techniques and inspiration․
7․1․ Recommended Drawing Tutorials Online
Discover a wealth of online drawing tutorials in PDF format, offering step-by-step guidance for all skill levels․ Platforms like Proko and New Masters Academy provide detailed lessons on figure drawing, shading, and anatomy․ Additionally, official software guides, such as the LibreOffice Draw Manual and CorelDRAW tutorials, are excellent resources for mastering digital drawing tools․ Websites like DrawSo and Artists Network offer free and premium downloadable PDFs covering topics from basic sketching to advanced techniques like perspective and texture․ These resources are ideal for both beginners and experienced artists looking to refine their skills․ With these tutorials, you can learn at your own pace and explore various artistic styles and mediums․
7․2․ PDF Guides and eBooks for Drawing
Expand your drawing skills with comprehensive PDF guides and eBooks available online․ Resources like Proko’s figure drawing guide and New Masters Academy’s detailed eBooks offer in-depth lessons on anatomy, shading, and composition․ Many websites provide free downloadable PDFs, such as “Drawing Tutorials Online” by Matthew Archambault, which complements video lessons with step-by-step instructions․ Additionally, specialized guides like “Graph Drawing Tutorial” by Isabel F․ Cruz focus on technical aspects of creating clear and structured visuals․ These resources cover various styles, from realistic portraits to still-life compositions, ensuring there’s something for every artist․ Whether you’re a beginner or an advanced artist, these guides provide valuable insights and practical exercises to enhance your drawing abilities․
Mastery of drawing requires consistent practice and dedication․ Embrace challenges, experiment with techniques, and celebrate progress․ Drawing is a lifelong journey of creativity and self-expression․
8․1․ Final Tips for Consistent Improvement
To consistently improve in drawing, dedication and patience are key․ Set aside time daily to practice, even if briefly․ Experiment with different tools and techniques to expand your skills․ Study the work of other artists for inspiration and insights․ Break complex subjects into simpler forms to refine your understanding of structure and proportion․ Use reference images to ensure accuracy and detail․ Stay relaxed and focused while drawing to maintain precision․ Regularly review your past work to track progress and identify areas for improvement․ Embrace challenges and view mistakes as learning opportunities․ Stay inspired by exploring new styles and mediums․ Persistence and enjoyment of the process will lead to steady growth and mastery in drawing over time․
8․2․ Encouragement to Keep Practicing
Consistent practice is the cornerstone of improvement in drawing․ Every stroke, every sketch, and every attempt brings you closer to mastering your craft․ Celebrate small victories and recognize progress, no matter how subtle․ Drawing is a journey, not a destination, and the joy lies in the process of learning and growth․ Surround yourself with resources like tutorials, guides, and communities to stay motivated․ Set achievable goals and reward yourself for reaching them․ Remember, even the most skilled artists began with simple lines and shapes․ Stay positive, embrace challenges, and enjoy the creative process․ As you continue to practice, you’ll find inspiration in the world around you and develop a unique style that reflects your vision and passion․