Welcome to the EOS manual, your comprehensive guide to mastering Canon’s powerful camera system. Explore advanced features like HD video recording, manual controls, and customizable settings to enhance your photography skills and achieve professional results.
Overview of EOS Camera System
The EOS camera system, developed by Canon, is a versatile and powerful tool designed for photographers of all levels. It combines cutting-edge technology with user-friendly interfaces, offering exceptional image quality and creative control. Key features include high-resolution CMOS sensors, advanced autofocus systems, and robust video recording capabilities, such as 1080p HD with manual controls. The EOS lineup also supports a wide range of interchangeable lenses, enabling photographers to adapt to various shooting scenarios. Whether capturing stills or video, the EOS system delivers consistent performance, making it a favorite among professionals and enthusiasts alike. Its durability, ergonomic design, and customizable settings further enhance the shooting experience, ensuring photographers can achieve their artistic vision with precision and ease.
Importance of Reading the Manual
Reading the EOS manual is essential for unlocking the full potential of your camera. It provides detailed insights into advanced features, such as manual controls, HD video recording, and customizable settings, ensuring you understand how to use them effectively. The manual also offers troubleshooting tips and maintenance advice, helping you resolve common issues and extend your camera’s lifespan. By understanding the camera’s functions, you can optimize its performance for various shooting conditions, whether capturing stills or video. This guide is designed to help both beginners and experienced photographers master the EOS system, enabling them to achieve professional-quality results. Take the time to explore the manual thoroughly to enhance your photography skills and make the most of your EOS camera’s capabilities.
Setting Up Your EOS Camera
Unpack and inspect your EOS camera, ensuring all components are included. Familiarize yourself with the layout and controls. Proper setup ensures optimal performance and prepares you for photography.
Unpacking and Initial Inspection
When unpacking your EOS camera, carefully remove all items from the box, ensuring no components are damaged. Check for the camera body, lens, battery, charger, and manual. Inspect the camera body for scratches or defects. Examine the lens for smudges or damage. Charge the battery fully before first use. Familiarize yourself with the camera’s exterior, locating key controls like the mode dial, shutter button, and memory card slot. Ensure all accessories are included and undamaged. If any issues are found, contact the retailer immediately. Proper inspection ensures your camera is ready for use and helps prevent future operational problems. This step is crucial for a smooth setup experience and optimal performance.
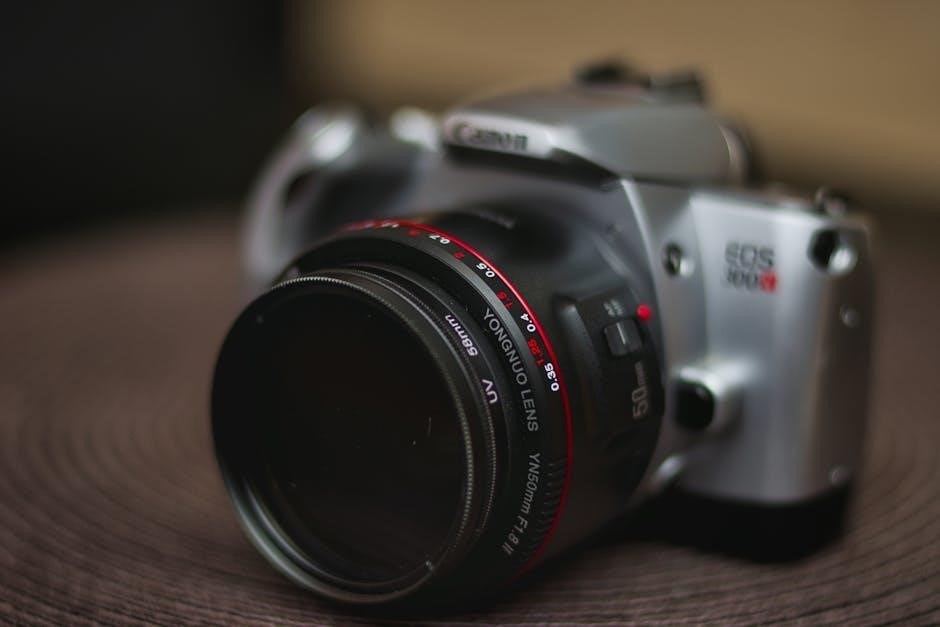
Basic Camera Controls and Layout
Familiarizing yourself with the EOS camera’s layout is essential for efficient operation. The camera features a compact, lightweight design inspired by the EOS 350D, ensuring ease of use without compromising on manual controls. Key components include the mode dial, shutter button, memory card slot, and navigation buttons. The mode dial allows quick access to shooting modes, while the shutter button is centrally located for intuitive operation. The memory card slot is typically found on the side, ensuring easy access. The rear panel includes a touchscreen LCD for menu navigation and playback. Dedicated buttons for ISO, autofocus, and white balance are strategically placed for quick adjustments. Understanding the layout enhances your ability to adjust settings swiftly, ensuring you never miss a shot. This design emphasizes user-friendly navigation, making it accessible for both beginners and advanced photographers.
Shooting Modes Explained
The EOS camera offers multiple shooting modes, providing flexibility for various photography needs. From automatic settings to full manual control, these modes cater to both beginners and advanced photographers.
Manual Mode (M)
In Manual Mode (M), you gain full control over your EOS camera’s settings, allowing for precise adjustments to aperture, shutter speed, and ISO. This mode is ideal for experienced photographers who want creative freedom. By adjusting these parameters, you can achieve unique effects like shallow depth of field or motion blur. Manual Mode requires a good understanding of exposure principles, as the camera does not automatically adjust settings. Use the aperture to control depth of field, shutter speed to freeze or blur motion, and ISO to manage sensitivity in low-light conditions. Experiment with different combinations to master various shooting scenarios. Practice and patience are key to unlocking the full potential of Manual Mode, enabling you to capture images that reflect your artistic vision. This mode is particularly useful for studio photography, landscapes, and high-contrast situations where precise control is essential.
Aperture Priority Mode (Av)
Aperture Priority Mode (Av) allows you to set the aperture value while the camera automatically adjusts the shutter speed to ensure proper exposure. This mode is ideal for photographers who want to control depth of field without worrying about shutter speed. By adjusting the aperture, you can isolate subjects, create background blur, or ensure sharpness across the entire image. Av mode is particularly useful for portrait photography, where a wide aperture (like f/2.8) can blur the background, or for landscapes, where a narrow aperture (like f/11) keeps everything in focus. The camera’s auto-exposure system ensures that the shutter speed adapts to maintain the correct brightness. This mode is a great balance between creative control and convenience, making it a favorite among photographers who want to focus on composition and lighting while letting the camera handle the technical details.
Shutter Priority Mode (Tv)
Shutter Priority Mode (Tv) lets you manually set the shutter speed while the camera automatically adjusts the aperture to maintain proper exposure. This mode is perfect for capturing motion, as you can control how movement is portrayed in your images. A fast shutter speed, like 1/1000th of a second, freezes action, making it ideal for sports or wildlife photography. Conversely, a slow shutter speed, such as 1 second, creates artistic blur, great for conveying motion in waterfalls or moving vehicles. The camera’s auto-exposure system ensures the aperture adapts to your chosen shutter speed, though you may need to adjust ISO or use neutral density filters in bright light. Tv mode offers a balance of control and convenience, making it a versatile choice for photographers who want to experiment with motion and blur effects while relying on the camera to handle exposure calculations.
Program Mode (P)
Program Mode (P) is a semi-automatic shooting mode that offers a balance between ease of use and creative control. In this mode, the camera automatically selects both the aperture and shutter speed to ensure a properly exposed image. However, you can still adjust settings like ISO, white balance, and exposure compensation to fine-tune the results. Program Mode is ideal for everyday photography, as it allows the camera to handle the basics while giving you the flexibility to make adjustments as needed. For example, you can use exposure compensation to brighten or darken the image or adjust ISO for low-light conditions. This mode is particularly useful for photographers who want to explore beyond Auto Mode but aren’t ready to manually control both aperture and shutter speed. Program Mode is a great stepping stone for learning more advanced techniques while still relying on the camera’s automation for consistent results.
Auto Mode
Auto Mode is the simplest shooting mode on your EOS camera, designed for ease of use and quick snapshots. In this mode, the camera fully automates all settings, including aperture, shutter speed, ISO, and flash, ensuring well-exposed images with minimal effort. It’s perfect for beginners or situations where you need to capture a moment quickly without adjusting settings manually. Auto Mode is also useful for casual photography, such as family gatherings or street photography, where speed and simplicity are key. While it lacks the creative control of manual or semi-manual modes, Auto Mode is reliable for producing good results in most lighting conditions. For more control over your photography, consider exploring other modes like Program (P) or Shutter Priority (Tv). Auto Mode is a great starting point for learning the basics before moving on to advanced techniques.
Customizing Your EOS Camera
Customize your EOS camera to suit your preferences and workflow. Adjust settings, create custom functions, and assign buttons for quick access to frequently used features, enhancing efficiency and personalization.
Custom Functions Overview
Custom functions on your EOS camera allow you to tailor settings to your shooting style, enhancing personalization and efficiency. These functions let you adjust exposure, autofocus, and other features to suit your preferences. By configuring custom functions, you can streamline your workflow, ensuring quick access to frequently used settings. This section will guide you through understanding and setting up custom functions to optimize your camera’s performance for various photography scenarios.
Assigning Buttons for Quick Access
Assigning buttons on your EOS camera allows for personalized control, enhancing efficiency during shoots. Customize buttons to access frequently used functions like ISO, AF modes, or white balance. This feature ensures that critical settings are readily available, minimizing menu navigation. For instance, the M.Fn button can be programmed for RAW image capture or HDR modes. Assigning buttons streamlines your workflow, enabling faster adjustments and a more intuitive shooting experience. Explore the customization options in your EOS manual to tailor button functions to your preferences, optimizing your camera for various photography scenarios and personal shooting styles.
Advanced Features of EOS Cameras
EOS cameras offer cutting-edge features like HDR, bracketing, and advanced autofocus customization, empowering photographers to capture stunning images with precision and creativity, tailored to professional needs and artistic vision.
High Dynamic Range (HDR) and Bracketing
High Dynamic Range (HDR) and bracketing are powerful tools in EOS cameras, enabling photographers to capture scenes with extreme contrast. HDR combines multiple exposures to produce images with detailed shadows and highlights, while bracketing allows for capturing a series of shots at different exposures. These features are particularly useful in challenging lighting conditions, such as landscapes with bright skies and dark foregrounds. The EOS system automates bracketing, making it easy to create HDR images. By shooting a sequence of exposures, photographers can later merge them using Canon’s software or third-party tools. This technique ensures that no detail is lost, resulting in vibrant and realistic images. Bracketing also provides flexibility for post-processing, allowing photographers to experiment with different looks. Mastering HDR and bracketing enhances creative control and elevates the quality of your photography, making it a must-learn feature for EOS users aiming to capture stunning visuals.
Focus Modes and Autofocus Customization
EOS cameras offer advanced focus modes and customization options to ensure precise control over autofocus performance. The primary focus modes include Single Shot AF, AI Servo AF, and AI Focus AF, each tailored for different shooting scenarios. Single Shot AF is ideal for stationary subjects, while AI Servo AF excels in tracking moving subjects. AI Focus AF automatically switches between modes based on subject movement. Additionally, EOS cameras allow for extensive autofocus customization, such as adjusting tracking sensitivity, specifying AF points, and fine-tuning AF behavior. These settings enable photographers to optimize autofocus for their specific needs, ensuring sharp focus even in challenging conditions. By mastering these features, photographers can achieve faster and more accurate focus acquisition, enhancing their overall shooting experience and the quality of their images.
Video Recording with EOS
EOS cameras offer high-quality video recording with full HD resolution and manual controls, enabling precise adjustments for professional-grade video capture and enhanced storytelling through rich, detailed footage.
Getting Started with Video Recording
To begin video recording with your EOS camera, ensure it is set to Movie mode via the mode dial. Familiarize yourself with the camera’s video-specific controls, such as focusing options and audio settings.
Use the shutter button or a dedicated AF-ON button to focus before recording. Press the Live View button to start and stop video capture. Experiment with manual controls like aperture, shutter speed, and ISO for creative flexibility.
For optimal audio, consider using an external microphone. Review your footage on the camera’s LCD screen and adjust settings as needed. Refer to the manual for troubleshooting common issues during video recording.
Manual Controls for Video Shooting
EOS cameras offer comprehensive manual controls for video, allowing precise adjustments to aperture, shutter speed, and ISO. These settings enable creative control over exposure and movement blur, enhancing visual storytelling.
Use the aperture to regulate depth of field, with lower f-values for a shallower focus. Adjust shutter speed to capture motion blur or freeze action, typically between 1/50s to 1/125s for smooth playback.
ISO settings should be minimized to reduce noise, though higher values can be used in low-light conditions. Utilize manual focus for consistent sharpness, especially in dynamic scenes. Explore these controls to tailor your video style and achieve professional results.
Troubleshooting Common Issues
Identify and resolve common EOS camera issues, such as error messages, lens malfunctions, or sensor cleaning needs. This section provides practical solutions to ensure optimal performance and maintain image quality.
Resolving Error Messages
Understanding and resolving error messages is crucial for optimal EOS camera performance. Common errors like ‘ERR 01’ or ‘ERR 99’ often indicate issues with lens communication or firmware inconsistencies. Always check lens connections and clean the sensor regularly to prevent malfunctions. If errors persist, updating the camera’s firmware to the latest version can resolve software-related problems. Refer to the official Canon support resources for specific error code solutions. Additionally, ensure all accessories, such as speedlites, are compatible with your EOS model, as older equipment may not function properly with modern systems. Regularly cleaning the camera’s components and using genuine Canon parts can also prevent unexpected errors. By addressing these issues promptly, you can maintain your camera’s functionality and ensure consistent image quality. Routine maintenance and updates are key to a trouble-free photography experience with your EOS camera.
Lens and Sensor Cleaning Tips
Proper cleaning of your EOS camera’s lens and sensor is essential for maintaining image quality. Start by using a soft, dry microfiber cloth to gently wipe the lens surface, removing fingerprints and smudges. For stubborn spots, dampen the cloth with distilled water, but avoid applying moisture directly to the lens. Never use harsh chemicals or tissues, as they can scratch the glass. For the sensor, activate the camera’s cleaning mode to vibrationally remove dust particles. If manual cleaning is required, use a specialized sensor cleaning brush or swabs with extreme caution to avoid damage. Always clean in a dust-free environment and avoid touching the lens or sensor surfaces. Regular cleaning ensures sharp, clear images and prolongs your camera’s lifespan. Refer to your EOS manual for detailed cleaning procedures tailored to your specific model.
Congratulations! You’ve completed the EOS manual guide. For further learning, explore Canon’s official website, YouTube tutorials, and photography forums for tips, firmware updates, and creative inspiration to enhance your skills.
Final Tips for Mastering Your EOS Camera
Mastering your EOS camera requires practice and experimentation. Regularly explore new shooting modes, such as Manual (M) and Aperture Priority (Av), to refine your skills. Stay updated with firmware improvements for enhanced performance. Utilize Canon’s official resources, such as their website and YouTube tutorials, for in-depth guidance. Clean your sensor and lenses regularly to maintain image quality. Customize your camera’s buttons for quick access to frequently used settings. Join photography communities or forums to share experiences and learn from others. Finally, experiment with advanced features like HDR and video recording to unlock your camera’s full potential. With dedication and creativity, you’ll achieve stunning results and take your photography to the next level.